Add A Sitemap To Your Svelte App on Autopilot
| Published: March 11, 2024
| Updated: March 11, 2024
Creating a sitemap should be a simple process - it’s essentially just a page with a bunch of URL’s linking to the pages you want to be crawled on your website, right?
Well, there’s a little more to it - you have to format it a particular way and if you want to automate the sitemap generation process, there’s a few things you’ll have to do.

In this article, we’ll go through the process of adding a sitemap to your SvelteKit app. We’ll also set it up as a set-and-forget so you won’t need to think about it for the remaining lifespan of your site. 😎
Sitemap basics
The formatting and content standards of sitemaps require you to serve them as a .xml, rather than the html pages you’d get from a normal Svelte +page.svelte file.
This means that you’ll need to create the sitemap in a +server.ts file, whilst following the rules of the SvelteKit file-based router. This means that if you wanted your sitemap to be accessed on yourwebsite.com/sitemap.xml, you’d create it in the following directory: src/routes/sitemap.xml/+server.ts.
Yes, that is a folder called sitemap.xml.
Now that we’ve created the blank file for our sitemap, let’s create it!
Making the sitemap
There are 2 directions we can go down for creating the sitemap:
Seeing as I will provide the code snippet for you here, I’d recommend doing it manually over using a 3rd party library. This is because it’s good practice to minimize dependencies and you get the benefits of:
- ability to change the code,
- greater flexibility, and
- you’ll understand what’s happening under the hood
But if you don’t care about any of this and just want the fastest way to implement a sitemap, click here to jump to the sitemap libraries.
Adding your sitemap manually
In your /src/routes/sitemap.xml/+server.ts file, paste this snippet:
/src/routes/sitemap.xml/+server.ts
const site = 'https://yourdomain.com'; // change this to reflect your domain
const pages: string[] = []; // populate this with all the slugs you wish to include

/** @type {import('./$types').RequestHandler} */
export async function GET({ url }) {
	const body = sitemap(pages);
	const response = new Response(body);
	response.headers.set('Cache-Control', 'max-age=0, s-maxage=3600');
	response.headers.set('Content-Type', 'application/xml');
	return response;
}

const sitemap = (pages: string[]) => `<?xml version="1.0" encoding="UTF-8" ?>
<urlset
  xmlns="https://www.sitemaps.org/schemas/sitemap/0.9"
  xmlns:news="https://www.google.com/schemas/sitemap-news/0.9"
  xmlns:xhtml="https://www.w3.org/1999/xhtml"
  xmlns:mobile="https://www.google.com/schemas/sitemap-mobile/1.0"
  xmlns:image="https://www.google.com/schemas/sitemap-image/1.1"
  xmlns:video="https://www.google.com/schemas/sitemap-video/1.1"
>
  ${pages
	.map(
		(page) => `
  <url>
    <loc>${site}/${page}</loc>
    <changefreq>daily</changefreq>
    <priority>0.5</priority>
  </url>
  `
	)
	.join('')}
</urlset>`;
And there you have it - a sitemap generated for you and presented to search engines in the format they like.
Now you just need to change the site value (line 1) to your domain, and add the page slugs to populate the URL list.
These page slugs will be relative to the root. For example, if you want to add the following pages to your sitemap:
/about,/categories,/categories/tutorials,/categories/tutorials/build-a-sitemap,
then the pages array value (line 2) will be:
const pages = [
	'about',
	'categories',
	'categories/tutorials',
	'categories/tutorials/build-a-sitemap'
];
Remember - there should be no initial slash /, as that’s covered in the template:
<loc>${site}/${page}</loc>Optionally, if you have lots of pages on your site and you want to separate your URL’s by category, then you would do this:
const products = ['shirt', 'hat', 'hoodie'];
const posts = ['build-a-sitemap', 'learn-svelte', 'how-to-add-structured-data'];

const site = 'https://sveltekit.io';

/** @type {import('./$types').RequestHandler} */
export async function GET({ url }) {
	const body = sitemap(posts, products);
	const response = new Response(body);
	response.headers.set('Cache-Control', 'max-age=0, s-maxage=3600');
	response.headers.set('Content-Type', 'application/xml');
	return response;
}

const sitemap = (posts: string[], products: string[]) => `<?xml version="1.0" encoding="UTF-8" ?>

<urlset
  xmlns="https://www.sitemaps.org/schemas/sitemap/0.9"
  xmlns:news="https://www.google.com/schemas/sitemap-news/0.9"
  xmlns:xhtml="https://www.w3.org/1999/xhtml"
  xmlns:mobile="https://www.google.com/schemas/sitemap-mobile/1.0"
  xmlns:image="https://www.google.com/schemas/sitemap-image/1.1"
  xmlns:video="https://www.google.com/schemas/sitemap-video/1.1"
>
  <url>
    <loc>${site}</loc>
    <changefreq>daily</changefreq>
    <priority>0.5</priority>
  </url>

  ${products
	.map(
		(product) => `
  <url>
    <loc>${site}/products/${product}</loc>
    <changefreq>daily</changefreq>
    <priority>0.5</priority>
  </url>
  `
	)
	.join('')}

  ${posts
	.map(
		(post) => `
  <url>
    <loc>${site}/blog/${post}</loc>
    <changefreq>weekly</changefreq>
    <priority>0.5</priority>
  </url>
  `
	)
	.join('')}
</urlset>`;
Notice that we map:
- the
productsarray to${site}/products/${product}, and - the
postsarray to${site}/blog/${post}
What will my sitemap look like?
So now when you enter your /sitemap.xml page, you’ll see something like this:
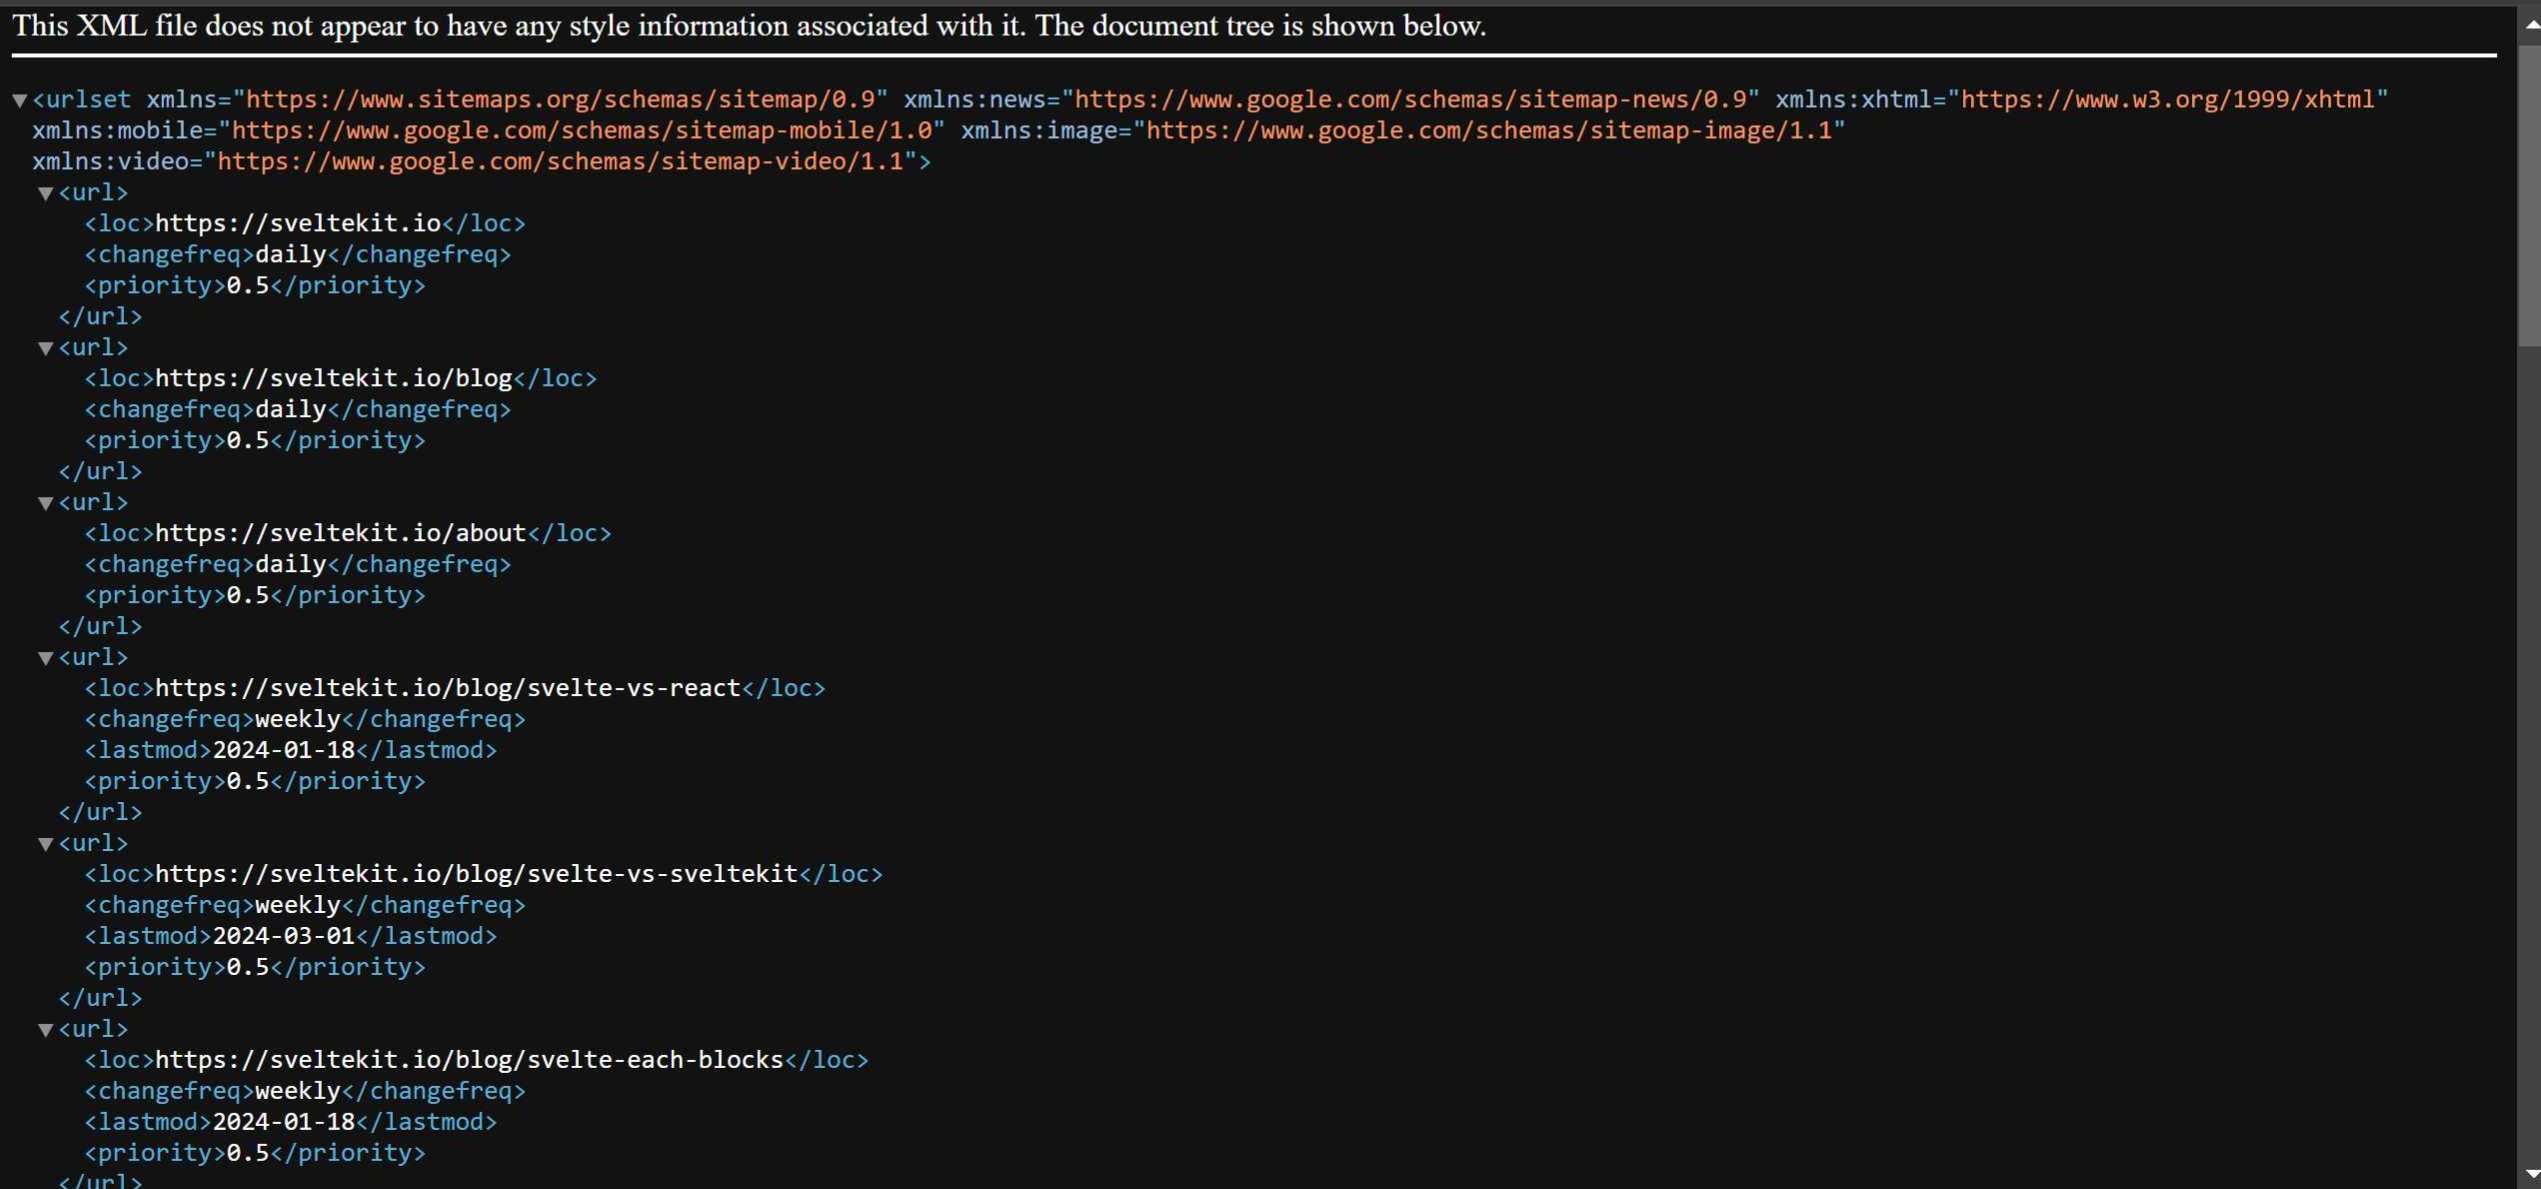
Yes, it’s ugly but it’s not for you - it’s for search engines and they like this! 😏
What we’ve done so far is compliant with sitemap standards. And now if you want to add new pages, all you have to do is add entries to the posts or pages array at the top of the +server.ts file.
Later in this post, we go one step further and auto-generate the pages array based on your projects files. But first, let’s quickly improve the sitemap SEO with the lastmod attribute.
Adding lastmod tags to post URLs
You’re probably here because you care about SEO. So if you’re adding blog posts or news articles to your sitemap, you should consider adding the <lastmod> attribute.
This just means, within each url, you add this tag:
<lastmod>2024-03-11</lastmod>So the posts array in the above example would look like this:
const posts = [{slug: 'build-a-sitemap', lastMod: '2024-03-11'}, ...]And then when iterating over posts in the main sitemap template-literal string, you would add the <lastmod> tag so it looks like this:
${posts
	.map(
		(post) => `
  <url>
    <loc>${site}/blog/${post.slug}</loc>
    <changefreq>weekly</changefreq>
    <lastmod>${post.lastMod}</lastmod>
    <priority>0.5</priority>
  </url>
  `
	)
	.join('')}
Now, not only is your sitemap compliant, but you’re also giving search engines a bit of extra food to chew on.
So far, everything is working, but there’s one problem - we still have to manually add all the slugs of our pages and posts to the +server.ts file.
In the next section, we’ll fix this issue and by the end of it we’ll have a completely hands-off experience where pages will be added to the sitemap automatically as you create them.
Autogenerate pages to add to the sitemap
Since SvelteKit is powered by Vite, we can use some of it’s functions to get pages from your project files.
Since all projects are set up differently, I’ll make general statements you can apply to your specific project.
Using Vite’s meta.glob import, you can import files and their metadata from the filesystem. And since SvelteKit uses file-based routing, we can use it to aggregate all routes to put into our sitemap on autopilot.

Let’s look at how it’s used this for this very website - sveltekit.io.
I have a folder (src/posts), which contains markdown (.md) files. Each of these .md files contains a blog post and the filename is the slug, which you can access at sveltekit.io/blog/[filename]. For example, the file I’m typing this in now is called svelte-sitemaps.md, and the URL you’re visiting is sveltekit.io/blog/svelte-sitemaps.
So to get the list of all my blog posts, I add this snippet to the top of my sitemap.xml +server.ts file:
src/routes/sitemap.xml/+server.ts:
const posts = import.meta.glob('/src/posts/*.md', {
	eager: true
});
This imports all the posts in the posts directory (including each posts metadata), and returns an object where each of the keys is the file directory, e.g. (src/posts/blog-name.md). So if we just wanted to get an array of the slugs of each post, we would use the following:
const posts = import.meta.glob('/src/posts/*.md', {
	eager: true
});

// We just want the directories
const directoryArray = Object.keys(posts); // List of posts as an absolute directory (e.g. '/src/posts/drizzle-sveltekit-integration.md')

// Trim the directories so that you have just the slugs
const slugArray = directoryArray.map((post) => post.split('/').at(-1)?.replace('.md', '')); // List of posts as a slug (e.g. 'drizzle-sveltekit-integration')
So now any time we add another post (a .md file) to the posts folder, our sitemap is automatically updated accordingly!
Exclude unpublished posts from entering the sitemap
Let’s say you have draft posts, and you typically keep track this in your markdown metadata like this:
---
draft: true
---You obviously don’t want to include draft posts in your sitemap. So using the meta.glob function, you can also extract this data from the paths object, and then filter out draft posts from published posts:
const posts = import.meta.glob('/src/posts/*.md', {
	eager: true
});
const publishedPosts: { slug: string; lastModified: string }[] = [];

for (const post in posts) {
	const postMeta = posts[post].metadata;
	if (!postMeta.draft) {
		const slug = post.split('/').at(-1)?.replace('.md', '');
		const lastModified = postMeta.lastModified;
		publishedPosts.push({ slug, lastModified });
	}
}
console.log(publishedPosts); // an array of posts {slug, lastModified} where !draft
// now map publishedPosts out as urls as we did in earlier sections ⬆
Now you have separated draft posts from published ones and exclude them from appearing in your sitemap.
We’ve now completed the full manual setup for adding a sitemap to your SvelteKit app. This includes a set-and-forget strategy which uses your file system to generate the sitemap.
If anything we’ve covered so far is too difficult or hard to understand, perhaps it’s worth looking into a 3rd party library to do some of the heavy lifting. Let’s now look at the most viable sitemap libraries you can use for SvelteKit.
Sitemap libraries for SvelteKit
You have a few options for using libraries to help you out with sitemap generations in SvelteKit. The most popular packages for generating sitemaps in SvelteKit are:
- Super Sitemap (preferred),
- svelte-sitemap
Both of them have fairly extensive docs on their pages so I won’t go into detail. However, I will say these should really only be used if you find the manual option we discussed above to be overly confusing or tedious.
These libraries come with their own set of instructions you’ll have to learn. On top of this, it’s a good idea to have as much control over the behavior of your codebase as possible. Learning and applying the manual route should be fast and straightforward.
Conclusion
Having a sitemap is super important if you want your websites to rank on search engines and get your pages indexed quickly. The steps we went through in this guide will provide the optimal sitemap format for search engines to sink their teeth into, whilst also minimizing the work you need to do on it in the future.
If you follow the steps and submit your sitemap URL (yourwebsite.com/sitemap.xml) to Google Search Console and Bing Webmaster Tools, they will have a reference to crawl your pages.
You should also frequently use a sitemap testing tool to validate your sitemap before submitting it to Google/Bing. It’ll tell you if there’s an issue immediately that you can fix before presenting it to the search engines.
Now that you’ve made the sitemap, make sure you’ve added a link to it somewhere in your app. It’s usually linked somewhere in the footer.
Hope this was helpful. ✌